Quite some time has passed since my last real posts, and looking at the car it feels like not much has happened, but re-reading the blog i realized quite a lot did.
No, the massive motor, differential and chain-drive is not in place yet and as you could see in my last blog one of the old gearboxes died. I also mentioned i wanted to keep it rolling during the weekends when my little guy was here, so tearing it all down and start building the drive-chain on the car itself was a no-go for me.
The cat ate the led-lights
And what’s left of it was pulled away by my soon to be 2 years old little rebel :) They will be replaced with more rugged LED strips for actual cars to make sure they get to stay.
I made a few poor attempts to patch the old gearboxes, but ended up removing it all together while awaiting the somewhat beefier replacement 550’s.
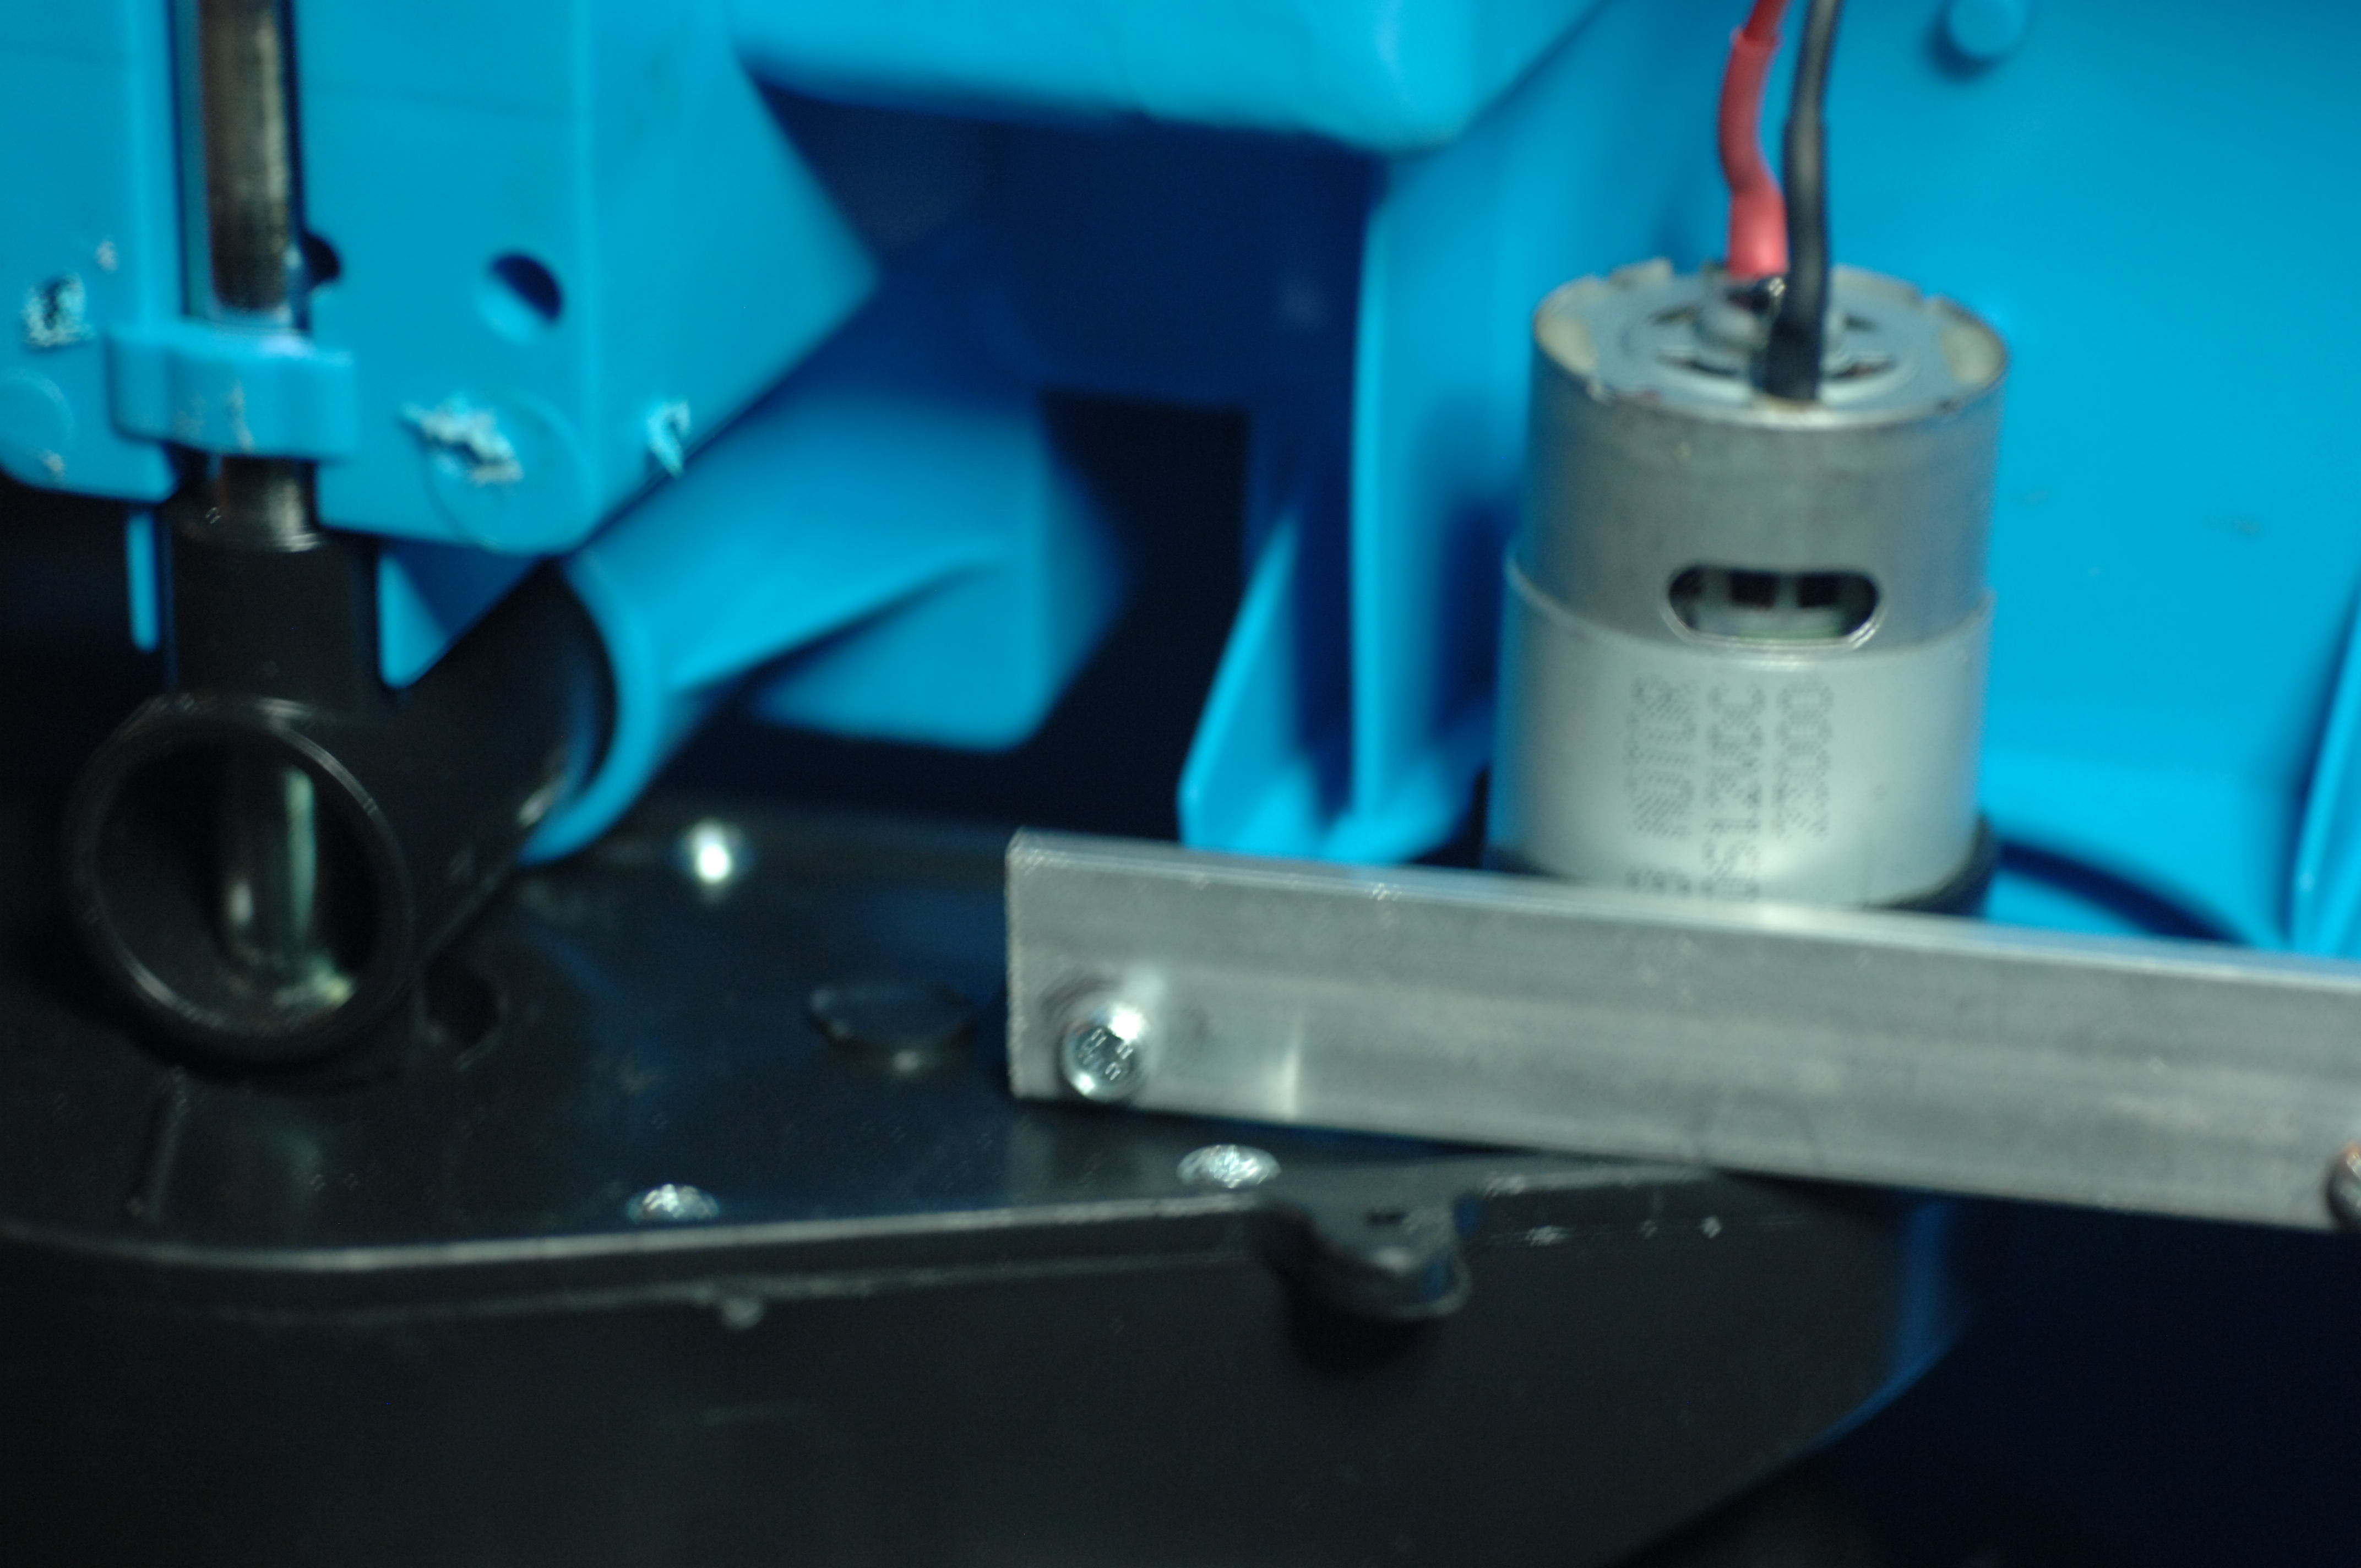 These are the RS-550 12VDC doing 23.000 rpm.
The search for wheels end
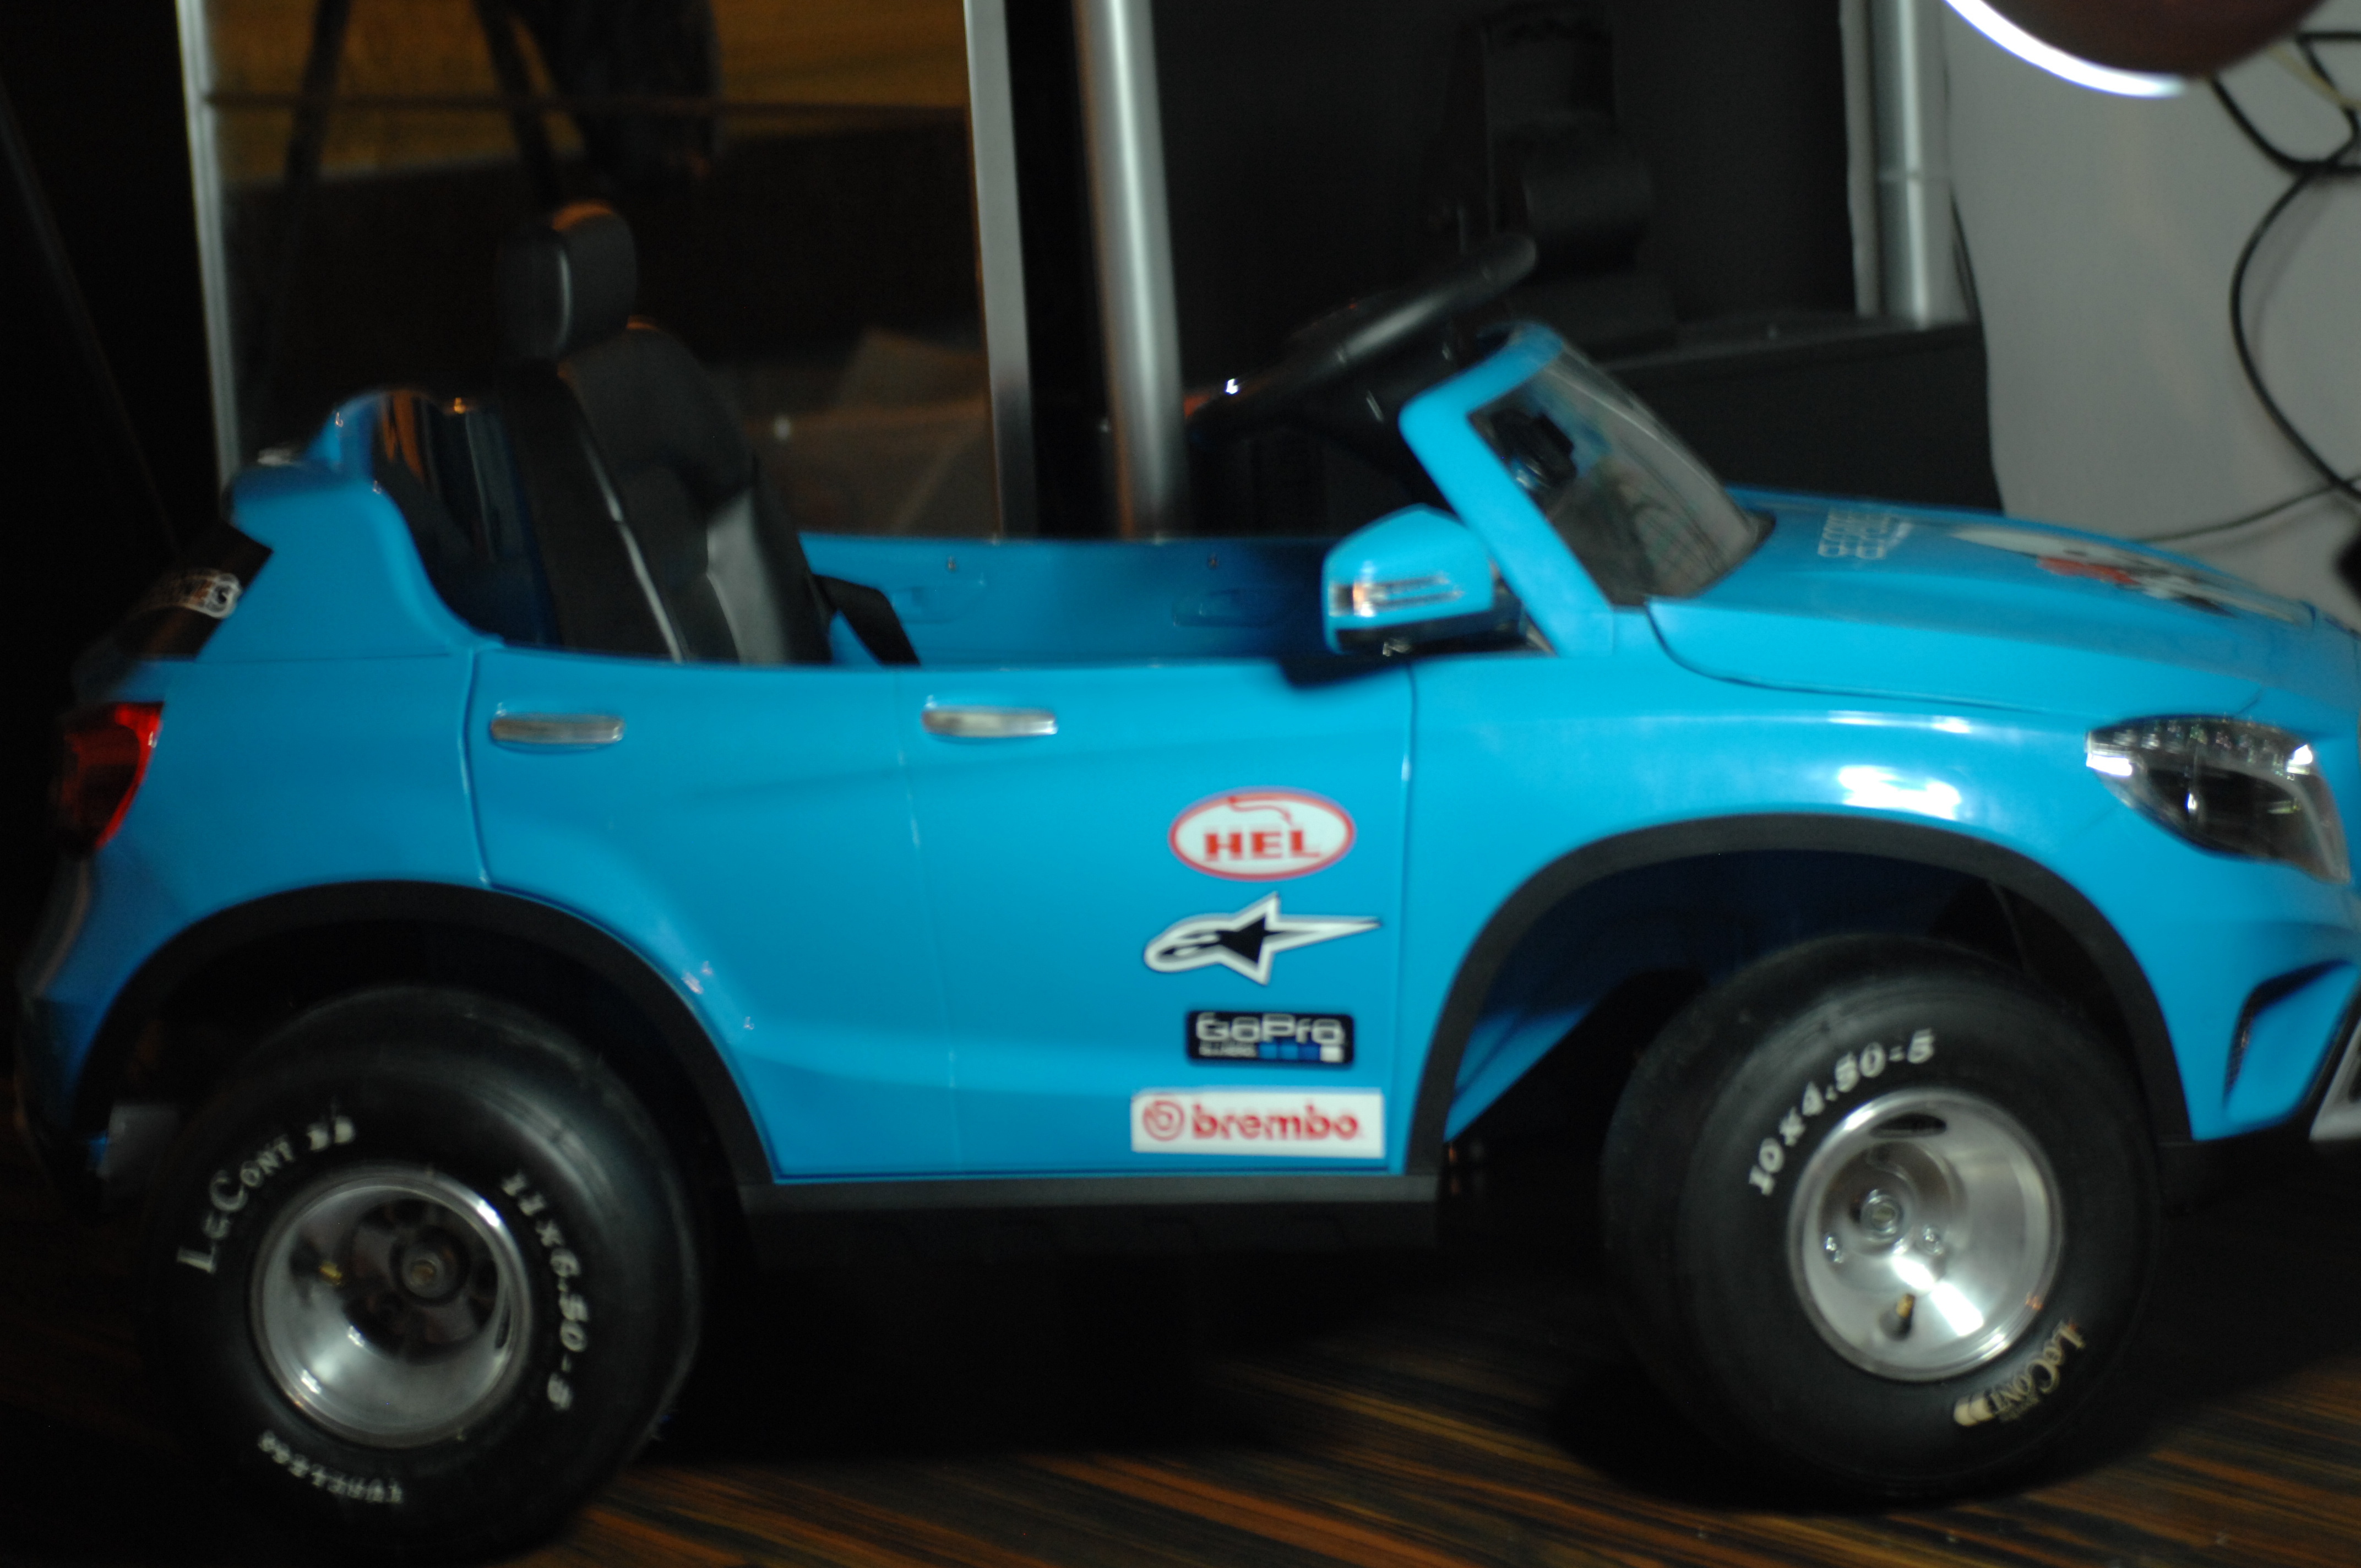
Wheels was an issue, and yes, i went the expensive way with a set of used DeCont gocart tyres.
Front: LeCont 10×4.50-5.
Rear: LeCont 11×6.50-5.
I ended up paying around 160 euros for the set. It looks pretty fancy, i must say and my son loves them.
There is no object so soft but it makes a hub for the wheeled universe. Walt Whitman
I now had wheels but no hubs for the rims to go on and while browsing ebay i didn’t find anything that was reasonably cheap or would just take too long to ship.
Being a responsible adult as i am, i have saved all scrap PLA from failed 3dprints, recycling this makes great sense. I decided to mold them so i measuring the inner diameter of the rim, then ran off to the local food-store and bought two canisters of corn that had just about the same diameter. The cans were emptied, cleaned and put on a the stow in a pan, heated to 210 degrees and the plastic was slowly added to make sure no large bubbles formed.
These chunks were milled flat to size. I drilled and tapped M8 holes and secured the wheel.
Art consists of limitation. The most beautiful part of every picture is the frame. Gilbert K Chesterton

I also started building the frame that once finished will replace much of the under-carriage of the current car. The game-plan is simple. Build a rolling frame with suspension, brakes, gears, differential, steering and motor and once ready transplant that frame to the car. Until now i started created 3 revisions of the back-end but stopped half way and reflected over decisions, scrapped it and started over again. This is most likely nothing what it will look like when “done”.
I have used aluminium as much as possible to keep the weight down. I got my hands on a 1300x60x40mm u-profile that shapes the base of the frame. The barrings housing holding the differential had to be milled down slightly, and 10x15mm strips add supports.
Initially flaky lower control arms moved me from cheap hollow tube, to solid square stock, to end up with 10mm thick aluminum blocks at the end.
I have been able to do most of the milling on my tiny Proxxon MF70 Micro-mill, but i REALLY need a bigger machine that eats more material, preferably CNC but for now this will have to do.
 Rear differential, bearings, chain, chain-tentioner, electric motor and the lower control arm mounted. Battery box will be mounted on the opposite side to the motor to balance out the weight.
All of this will be covered under the driver seat to avoid anyone losing a tiny finger. I am considering to add linear actuators to the suspension to be able to raise and lower it as i think it would make it look sleeker. Not sure yet, leave your comments.
The child supplies the power but the parents have to do the steering. Benjamin Spock
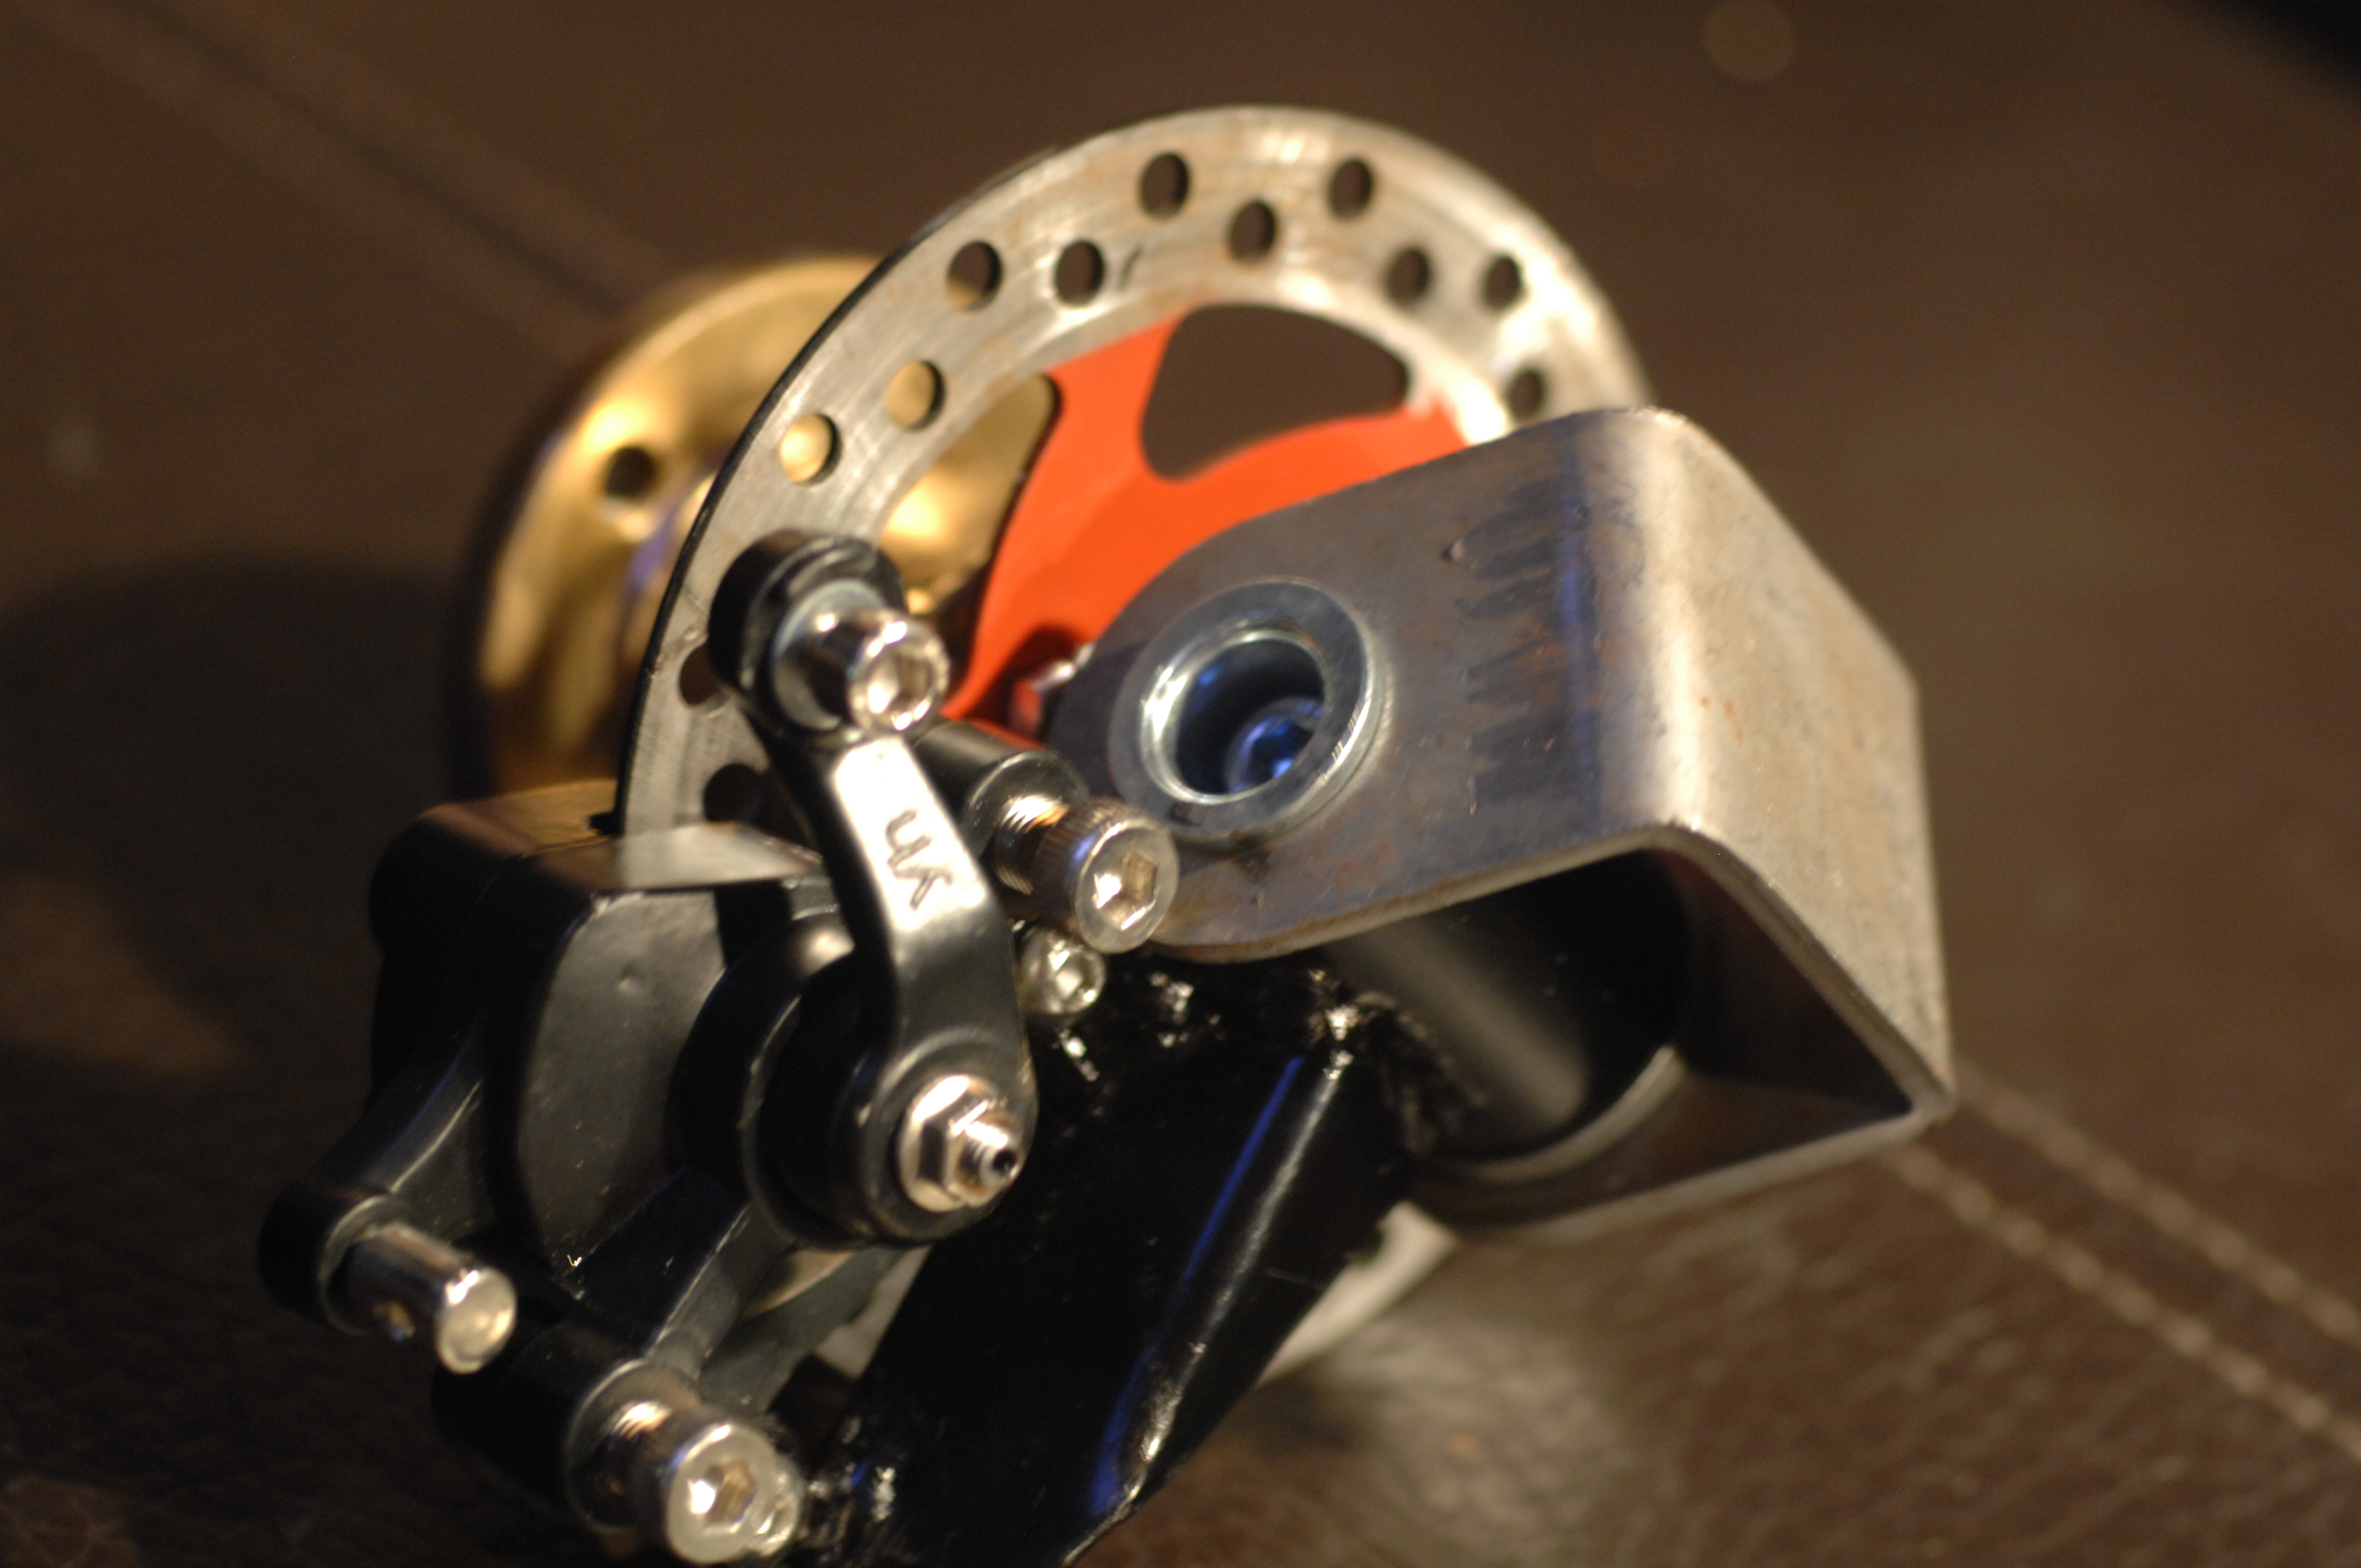
I bought a gokart front steering kit, including wheel-hubs. I welded a few nuts and bolts to them allowing the pocket-bike disc-brakes and calipers to be mounted, then gave them a splash of paint.
Life is made of ever so many partings welded together. Charles Dickens
I ended up buying a dirt-cheap 200 amp MMA/TIG. I burned a few boxes of rods and i am starting to get the feel of it. And yes, I even welded aluminium, but like everyone said, it’s hard to do with stick (however not impossible).
So far this project is moving a lot slower than i am wished for but it’s busy days and i have spent a fair amount of time picking up milling, using lathe and welding. With this mix of new trades i am reconsidering a lot of decisions made prior to posting here, so you have not seen half of it.
Anyway, just wanted to let you know i was making some progress.